
It's a Wilkins thing: we like to get other people's garbage off the side of the road. What can I say, we're thrifty like that! It works out particularly well when you live in a military community with people pcsing all the time, because usually what you get isn't that bad. I got this ugly nightstand several months back when the neighbor behind me got a new bedroom set, and the ugly dresser when my friend called me and said her neighbors had put it on the curb. The dresser was actually an answer to prayer, because I'd been telling God I needed a dresser for the twins' things. There's nothing wrong with either piece, other than that they are ugly and old! After I had them for a while I finally decided on a color and I think I spent about $50 on supplies like sandpaper, paintbrush and sponge rollers, drawer pulls and spray paint, primer and paint, masks and floor plastics, etc. I wouldn't have had to spend so much but we didn't have ANY supplies for this kind of project. I also didn't take as many pictures as I should've, so bear with me!
 |
| Ugly nightstand, missing hardware. |

The next day I took out the dresser drawers and dragged the dresser outside to work on. I have no pictures of sanding the dresser, priming, or painting any of it. But I did! The nightstand got a coat of Kilz primer (supposedly it sticks to laminate without sanding), two coats of my chosen blue paint, and two coats of Poly. All the hardware for both pieces, plus that black wrought iron lamp base, got spray painted a gloss white.
 |
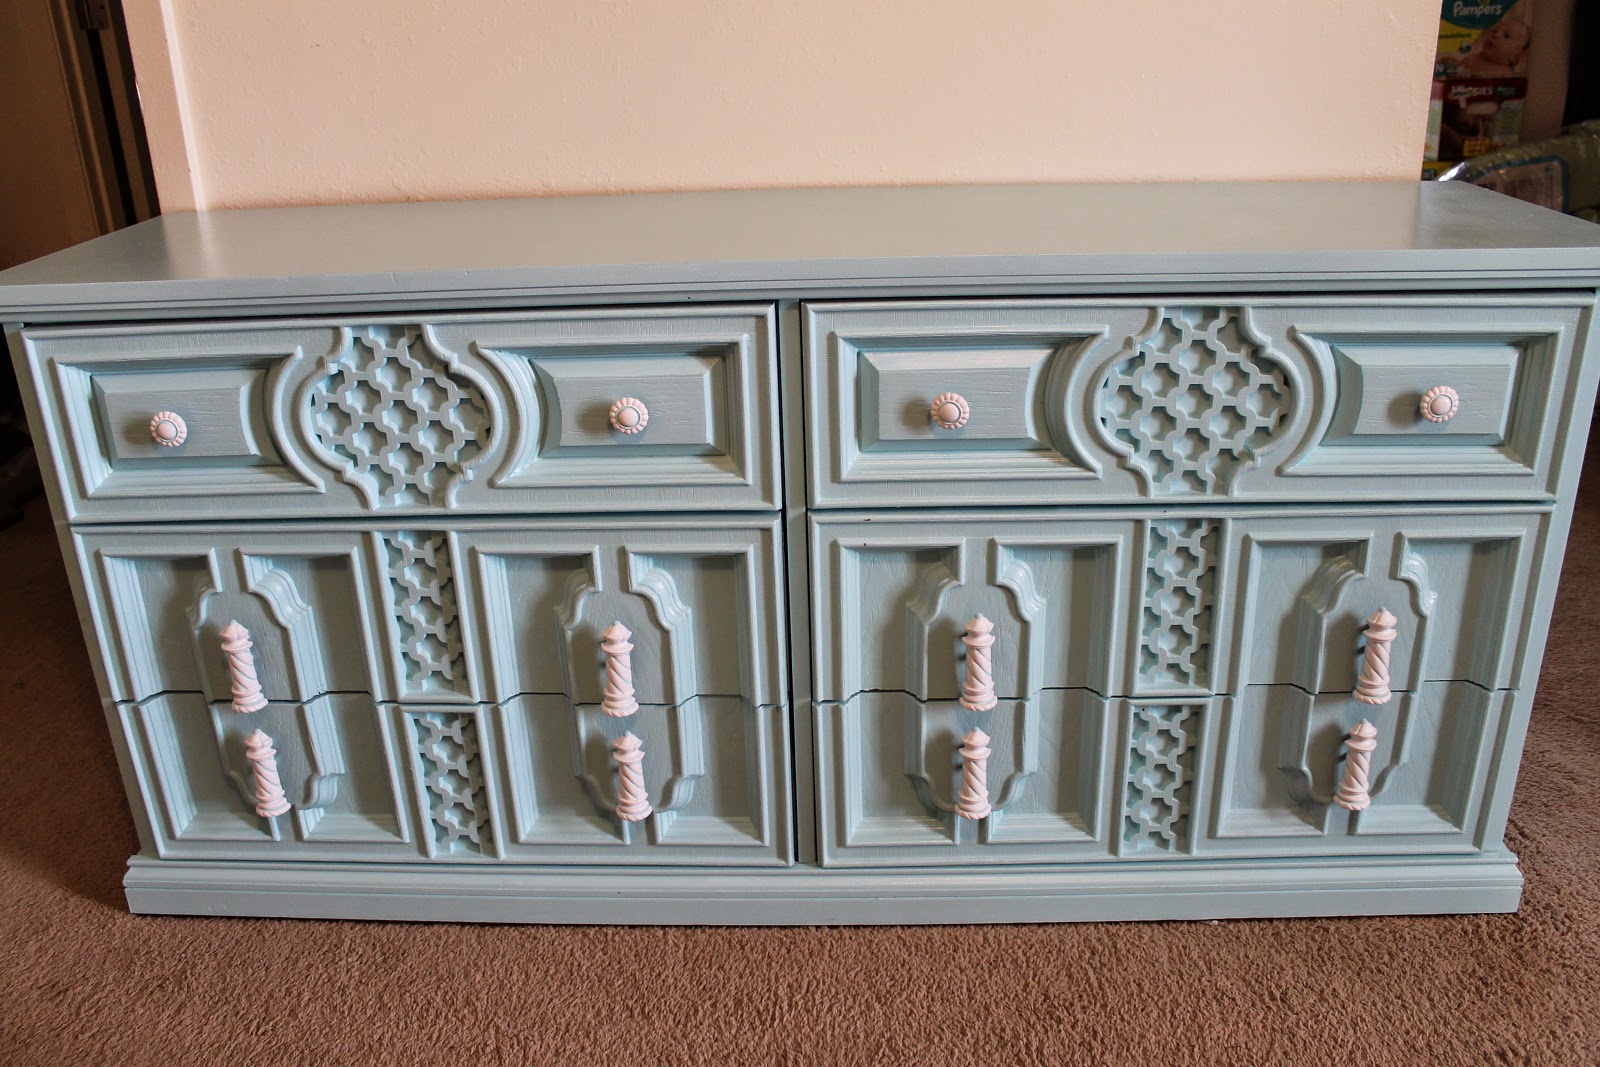
| Ugly dresser before, minus the drawer I'd taken out to clean and test paint. |
 |
| Lots of detail in those dresser drawers! |
The ugly dresser got sanded, two coats of Kilz, two coats of blue paint, and two coats of Poly. The drawers were the awful part. They took HOURS with all those details and the "beehive" carving took a long time to cover. I sat on a stool hunched over them and my parents got to our house midway through my second coat of primer. (As it turned out, the drawers were actually plastic, the paint flaked off no matter how I tried to clean them, and the primer didn't cover very well--hence the second coat.)
 |
| This is what it looks like to be working out in 95 degrees wearing a mask! |
As it turned out, dad was not thrilled that I was doing all of this so he took over finishing the drawers. (And if I remember right, he did the last coat of poly on the dresser/nightstand for me.) I'm not going to lie, I was pretty grateful not to be on the stool painting those drawers! He roped Nathan into helping him for part of it, and as you can see Shane also wanted to be involved with the boys. Thank you so much for finishing my project! It doesn't seem like that much work, but it took a lot of days with all the time I spent waiting for coats to dry and pulling furniture in and out of the house. It was surprisingly exhausting, and I didn't even do the bulk of the work on the drawers!

Finally, the finished products! Both pieces are in my room, the nightstand by my bed and the dresser full of clothes for Dani and Dean. I want to do something different with the lamp shade, but I don't know what to do to it yet. I actually think the lamp is really ugly, but it's better now that it's white.

In case you were wondering, other free roadside finds include one of those plastic outdoor play towers with the slide and little house for the kids, a shelf unit I have in the play room, two play mats for the twins, a baby seat that bolts on the back of my bicycle, two baby gates, and that's all I can remember right now. Obviously I clean everything I get, and I only take things I need. I'm not a hoarder. Sure it can be embarrassing to stop and get stuff off the side of the road, but it also helps save a lot of money. One person's trash is another person's treasure!
No comments:
Post a Comment